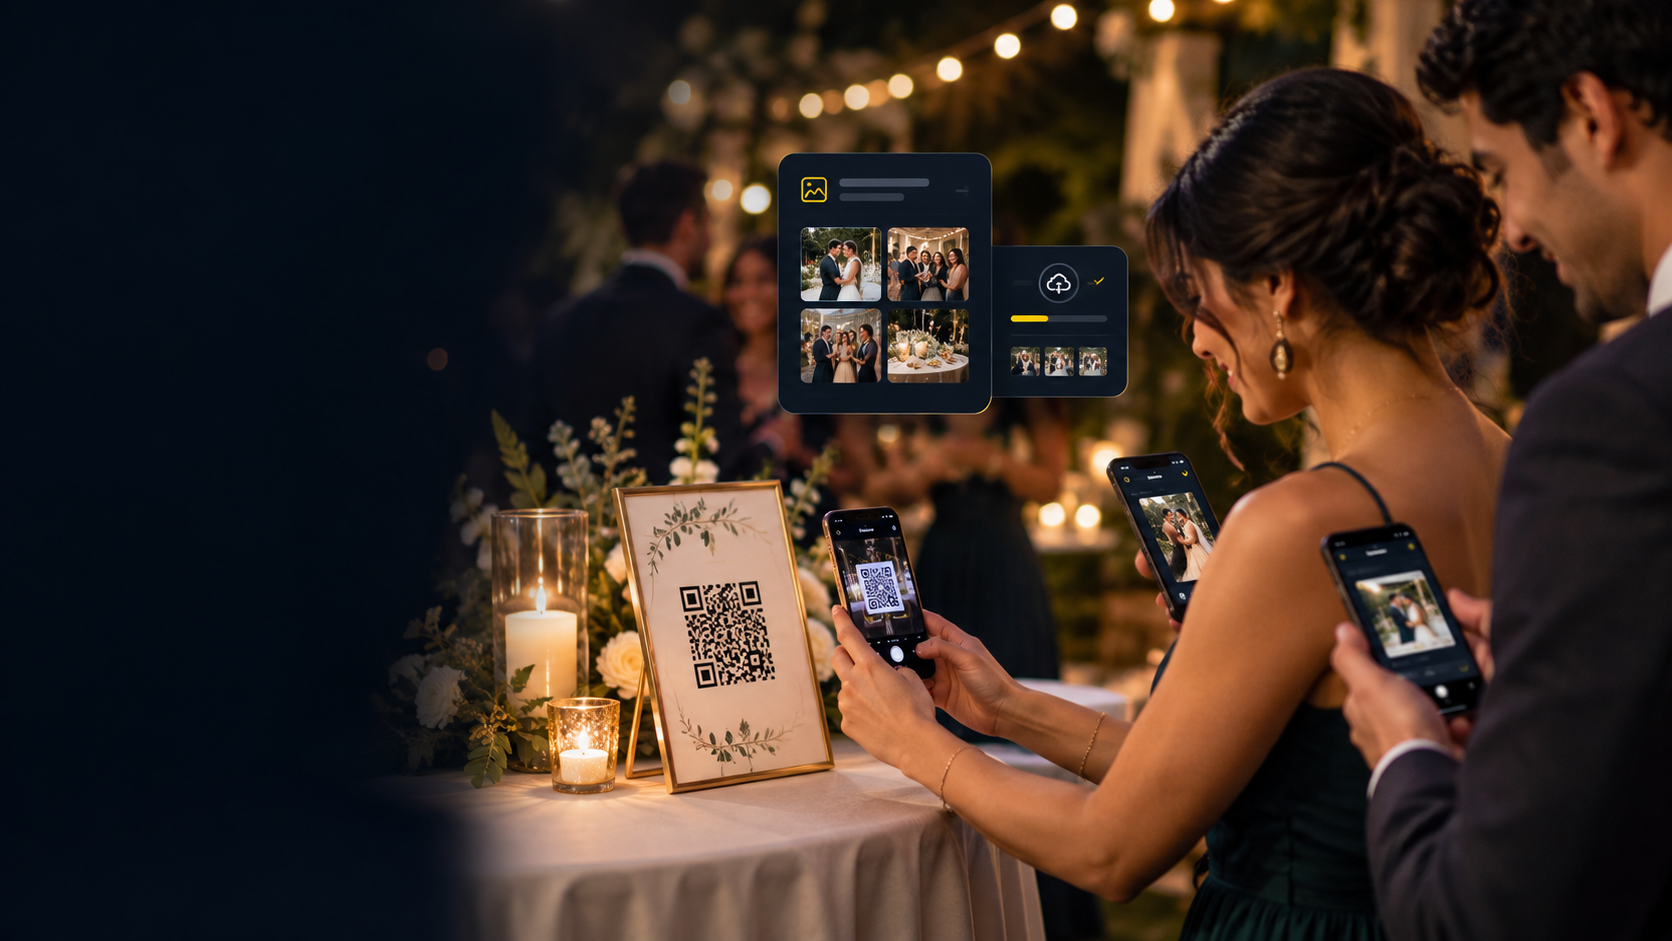
To create a wedding website with a photo gallery, build the website in a wedding website builder for the RSVP, schedule and travel details, then connect a photo gallery your guests can upload to, with one link in the menu and one QR code on the day. The website tells guests where to be. The gallery collects what they saw.
It is tempting to make one tool do both jobs. It is simpler to let each tool do the job it was made for and join them with a link. Here is how.
What a wedding website with a photo gallery needs to do
A wedding website with a photo gallery has two jobs: give guests the information before the day, and collect and share the photos after it. Each job needs different features.
| Job | What it needs |
|---|---|
| The website | RSVP, schedule, venue and map, travel and hotel notes, registry links, your story |
| The photo gallery | Guest upload by QR code, original quality, approvals, privacy, download controls, room for the photographer's set |
Step 1: Choose a website builder for the RSVP and schedule
Choose the website builder on how well it handles RSVPs, the schedule and the travel page on a phone, because those are the pages guests need. Dedicated wedding website builders come with RSVP and registry tools in place. General site builders give you more design freedom and more setup. Either works if it passes these checks:
- The RSVP form is short and easy to fill in on a phone.
- The schedule and venue pages load quickly and open the map in the phone's map app.
- You can add your own menu item that links to an outside page, such as your photo gallery.
- You can password-protect pages you do not want public.
Step 2: Add a photo gallery guests can upload to
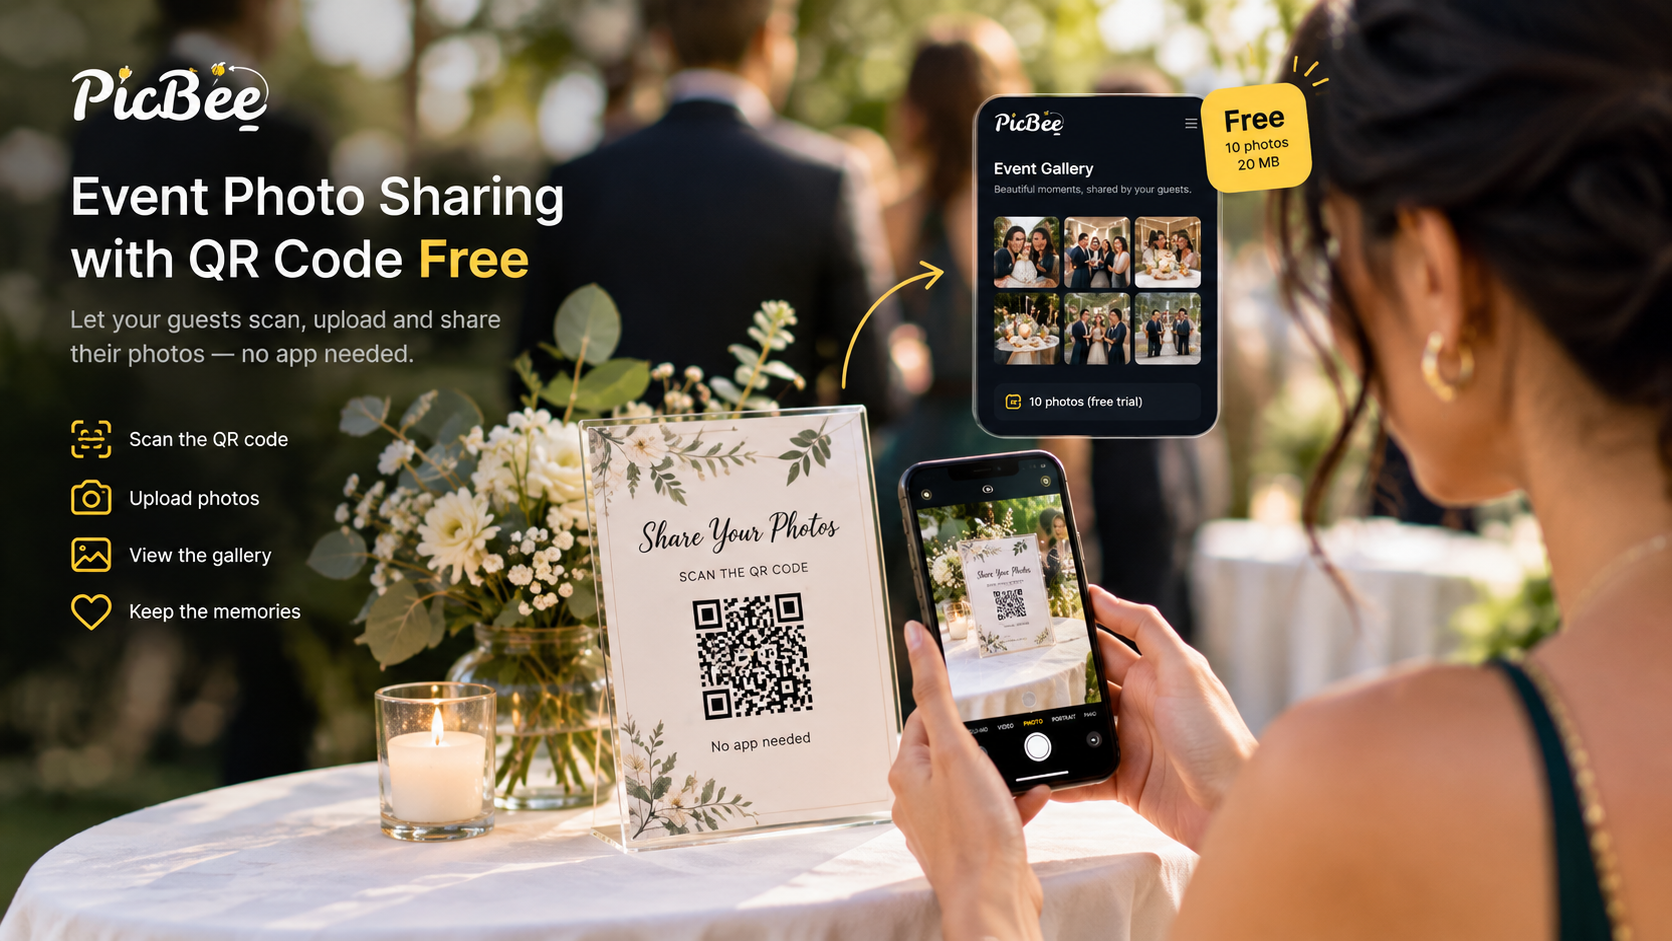
The gallery is where guests add their photos, so it should open from a QR code in the phone browser with nothing to install. PicBee is built for this part. It is not a wedding website builder: it is the gallery your wedding website links to.
In a PicBee gallery:
- Guests scan a QR code or tap the link and upload from the browser. No app, no sign-up.
- Guest photos appear in the gallery straight away, and you can turn on approval if you want to check them first.
- Paid plans keep photos at original quality.
- The photographer can deliver the professional set into the same gallery, so the whole wedding sits behind one link.
- On Premium, face search helps guests find the photos they are in, and the gallery can run on your own custom domain, such as photos.yournames.com.
The wedding photo sharing app page shows the full wedding setup.
Step 3: Connect the website and the gallery
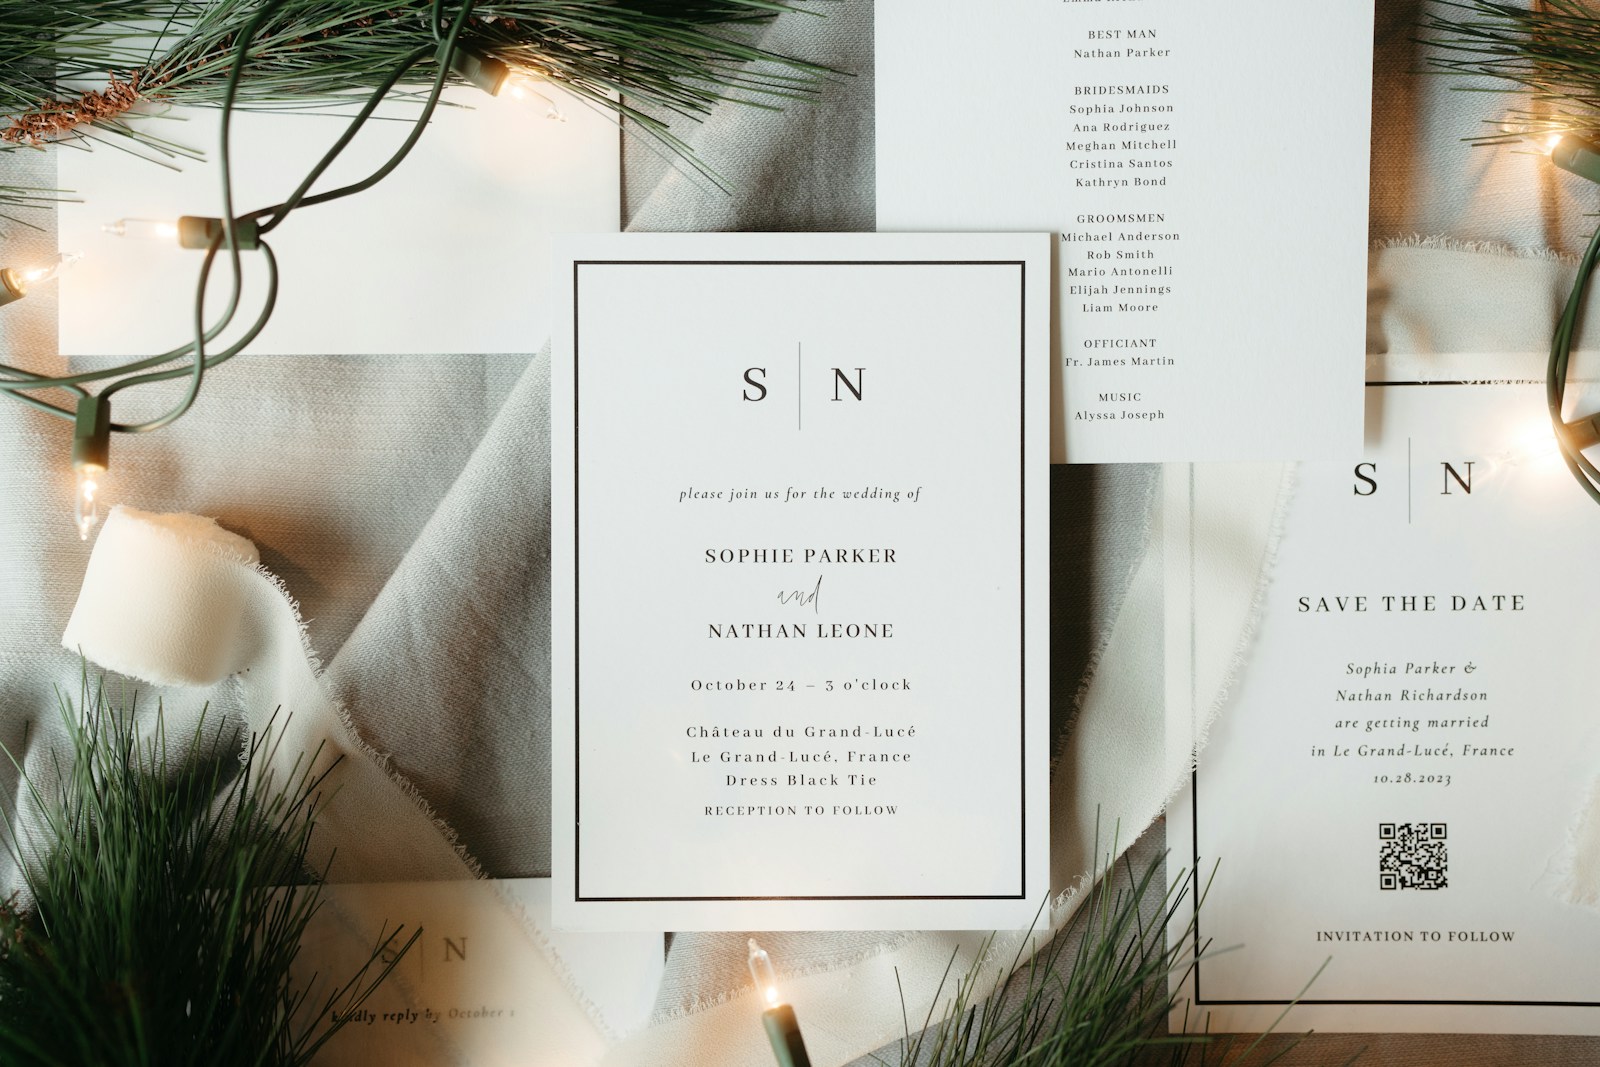
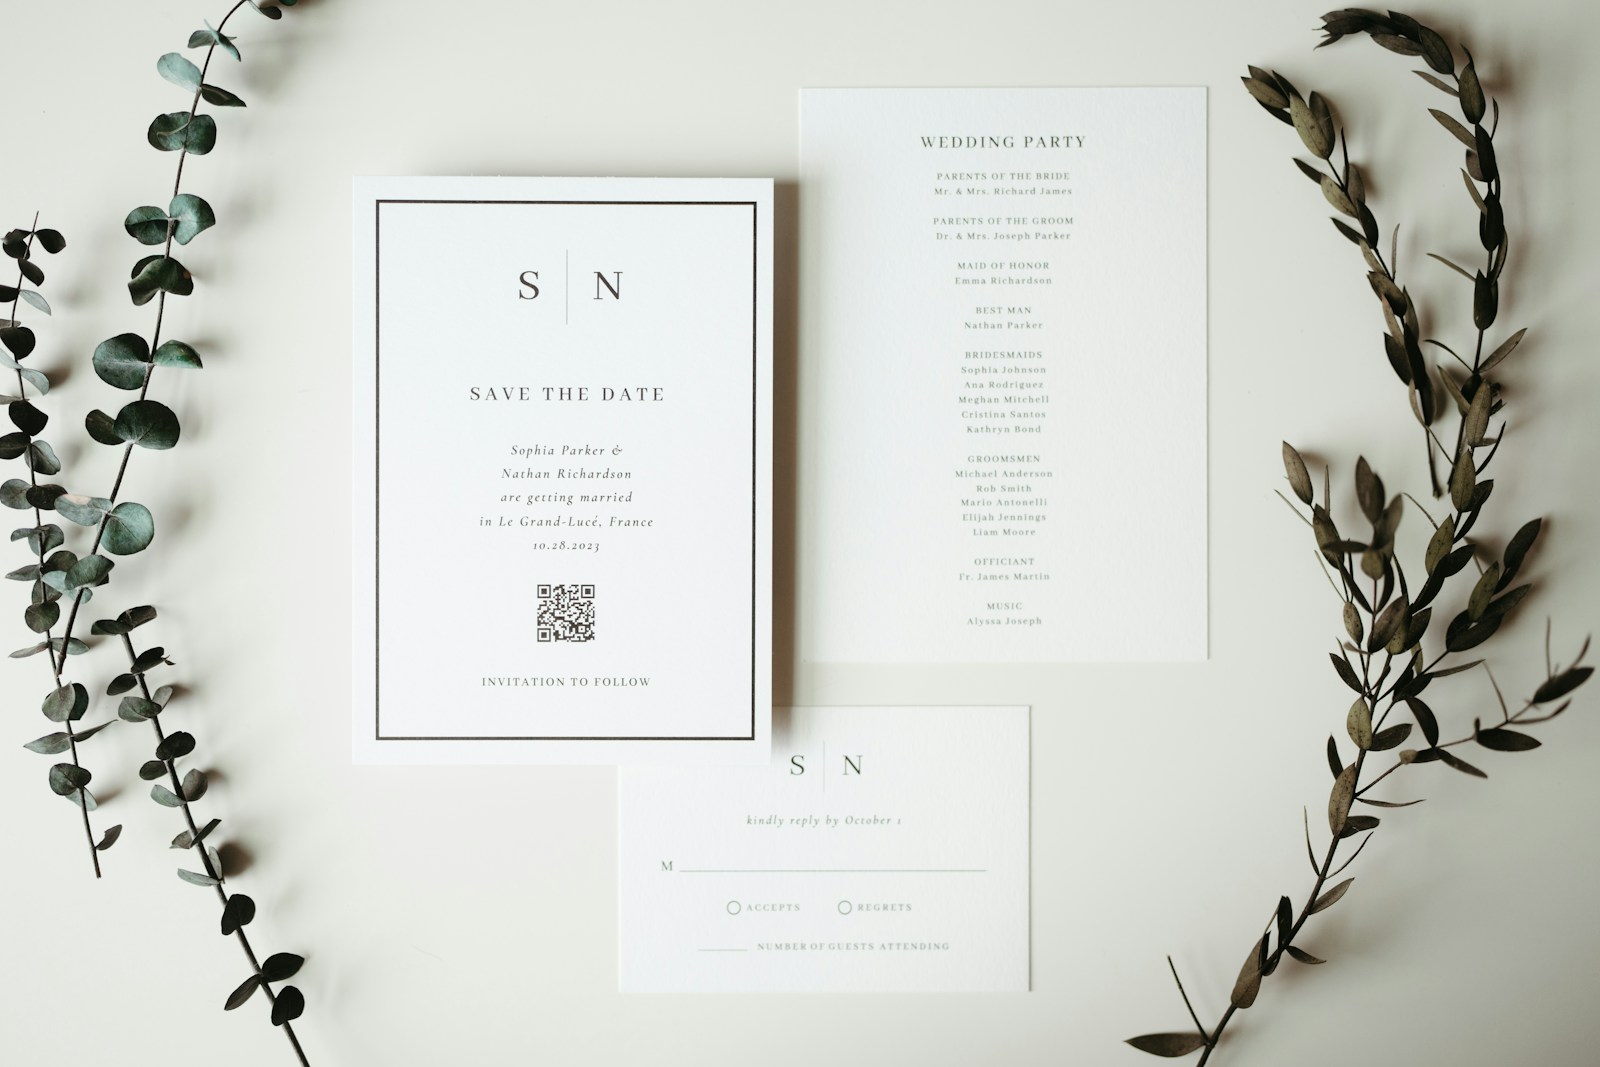
Connect them with one link and one code. Add a "Photos" item to the website menu that opens the gallery, and print the gallery's QR code on the invitations, the welcome sign and every table.
- Use the same gallery everywhere. Two galleries split the photos.
- Before the wedding, the gallery can hold your engagement photos and a note that wedding photos are coming.
- After the wedding, change the note to "Add yours" and send the link to guests again.
Where to print the code and what to say on the day is covered in QR code for wedding pictures.
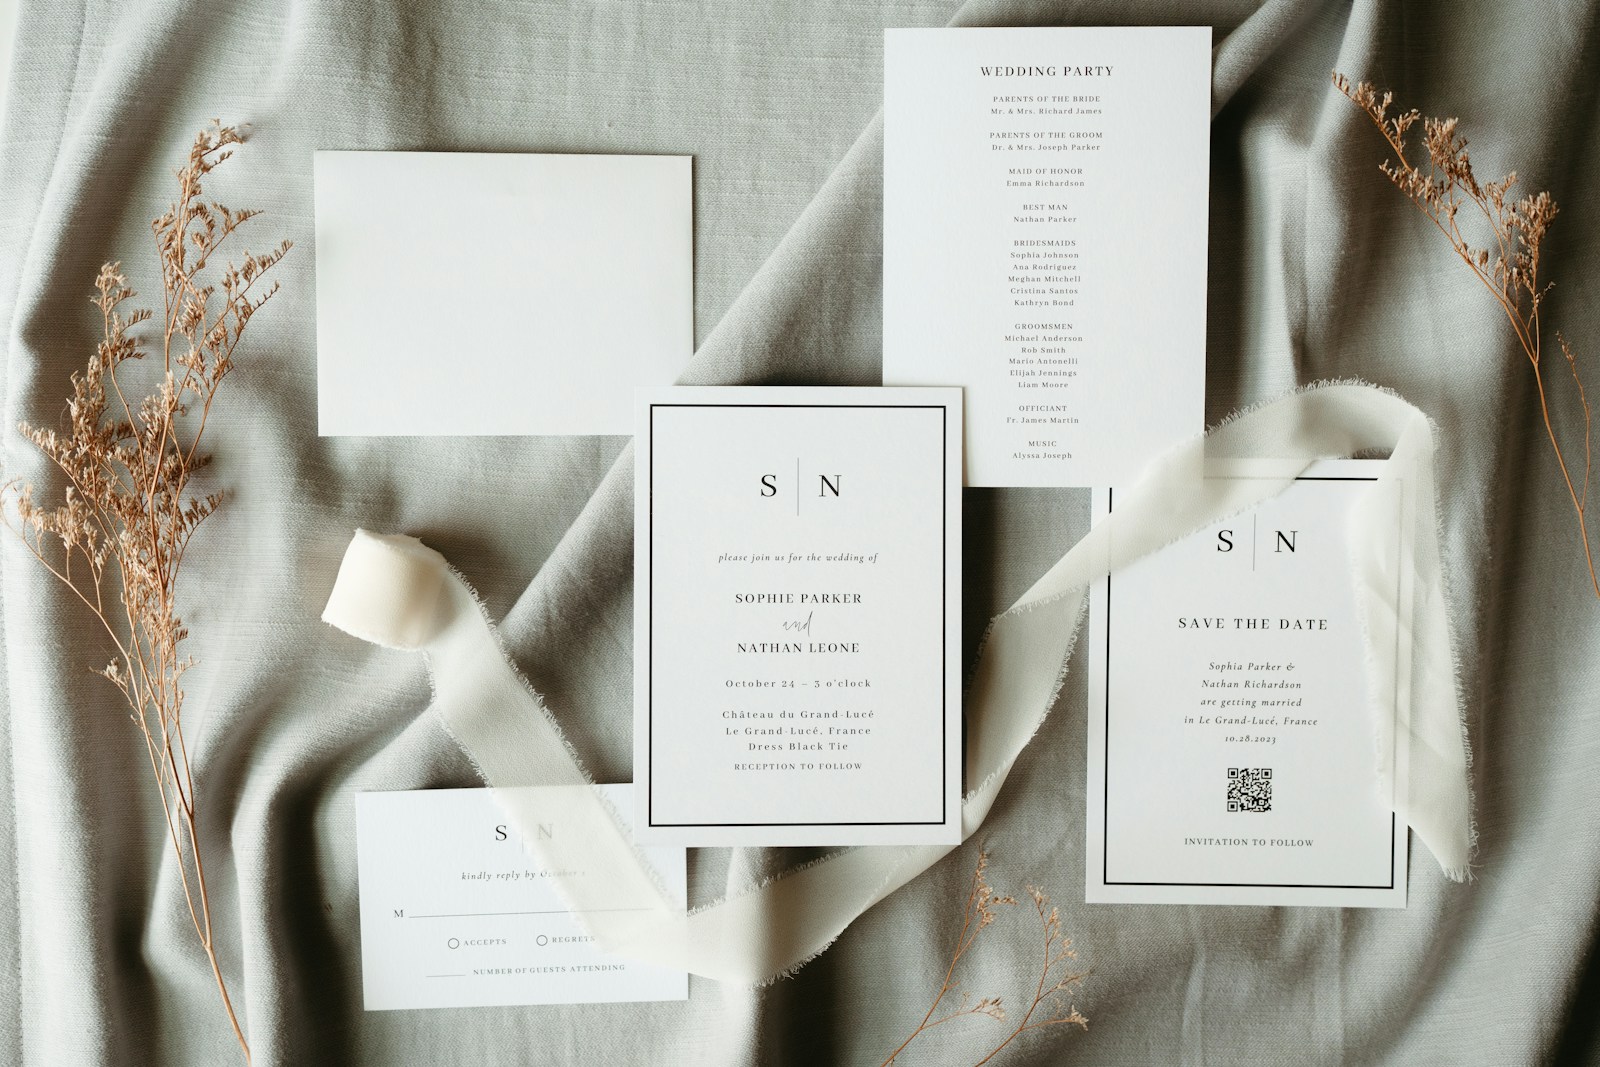
Step 4: Choose the photos for each place
Put a few strong photos on the website and keep the full set in the gallery. A website reads best with a handful of images. A gallery is made for hundreds.
On the website:
- Hero image: your best landscape photo, with your names and the date over it.
- How we met: a small set of photos that tell the story.
- The proposal or engagement shoot: high-emotion shots that set the color palette.
- The wedding party: so the people standing with you feel included.
In the gallery, group photos into albums such as Engagement, Ceremony, Reception and Guest photos. Guests do not sort anything when they upload. You arrange the albums afterwards. For the shots to ask your photographer for, use the wedding photo checklist.
Step 5: Decide who can see what
Keep the practical pages easy to find and keep the photos private. The schedule, venue and RSVP can be public so guests can find them. The gallery and your home address do not need to be.
In PicBee, you can make the event private, set a password for the whole event or for a single album, approve guest uploads before they appear, and decide whether guests can download.
Step 6: Check both on a phone
Guests open the website and the gallery on their phones, often from the venue. Before you send the link, check it on yours:
- Does the Photos link in the menu open the gallery?
- Is the RSVP button easy to tap?
- Does the venue address open in the phone's map app?
- Does the printed QR code scan from a seat at a table?
What is the best website to upload wedding photos to?
The best place to upload wedding photos is a gallery that holds both the photographer's set and the guests' phone photos, because that is the one link everyone comes back to. Social media is fine for sharing a few favorites, but it is not where you keep the whole wedding.
Look for guest upload without an app, original quality, privacy settings and download controls. PicBee puts both cameras in one gallery: the photographer delivers the client gallery, and guests add their phone photos by scanning a QR code.
What is the best free website for wedding photo sharing?
The best free option is one your guests can use without signing in and that keeps photos at full quality. Free plans come with limits, so check the photo count, the storage, the quality and how long the gallery stays online before you rely on one.
PicBee's free account gives you one event, 10 photos and 20 MB of storage. That is enough to test the flow, not to hold a wedding. Paid event plans start at $29, one-time, with the full list on PicBee's event plan pricing. For other options, see the comparison of free wedding photo sharing apps.
Frequently Asked Questions
Q: Which site is best for a wedding website?
A: The one that makes the RSVP, schedule and travel pages easy on a phone and lets you add a menu link to your photo gallery. Pick a website builder for the information and a gallery for the photos.
Q: Can PicBee be my wedding website?
A: No. PicBee is the photo gallery, not a website builder. Use a wedding website builder for RSVPs and the schedule, and link it to your PicBee gallery. On Premium, the gallery can use your own custom domain.
Q: When should I launch my wedding website?
A: When you send your save-the-dates, so guests have somewhere to check the details. Add the gallery link once you have engagement photos to share, or a few weeks before the wedding.
Q: Should the gallery be public or password-protected?
A: Keep the information pages public so guests can find them, and protect the gallery. A private event or a password keeps the photos with the people you invited.
Wrap-Up
A wedding website with a photo gallery works best as two tools joined by one link: a website builder for the RSVP and schedule, and a gallery your guests can upload to. Build the website, add the gallery, put the same QR code on every table, and send the link again after the wedding.
Ready to set up the gallery your wedding website links to?